This is the start of the cover art for my next hand painted travelers journal made from an upcycled book.
Image transfer, collaged background
I started with creating background layers created from magazine text and gel medium. After that layer, I repeated the process with colored images. Next came the paint and stenciled image.
Cover in ProgressFront Cover
Once the outside cover is complete, it’s time to add signatures, pockets and envelopes.
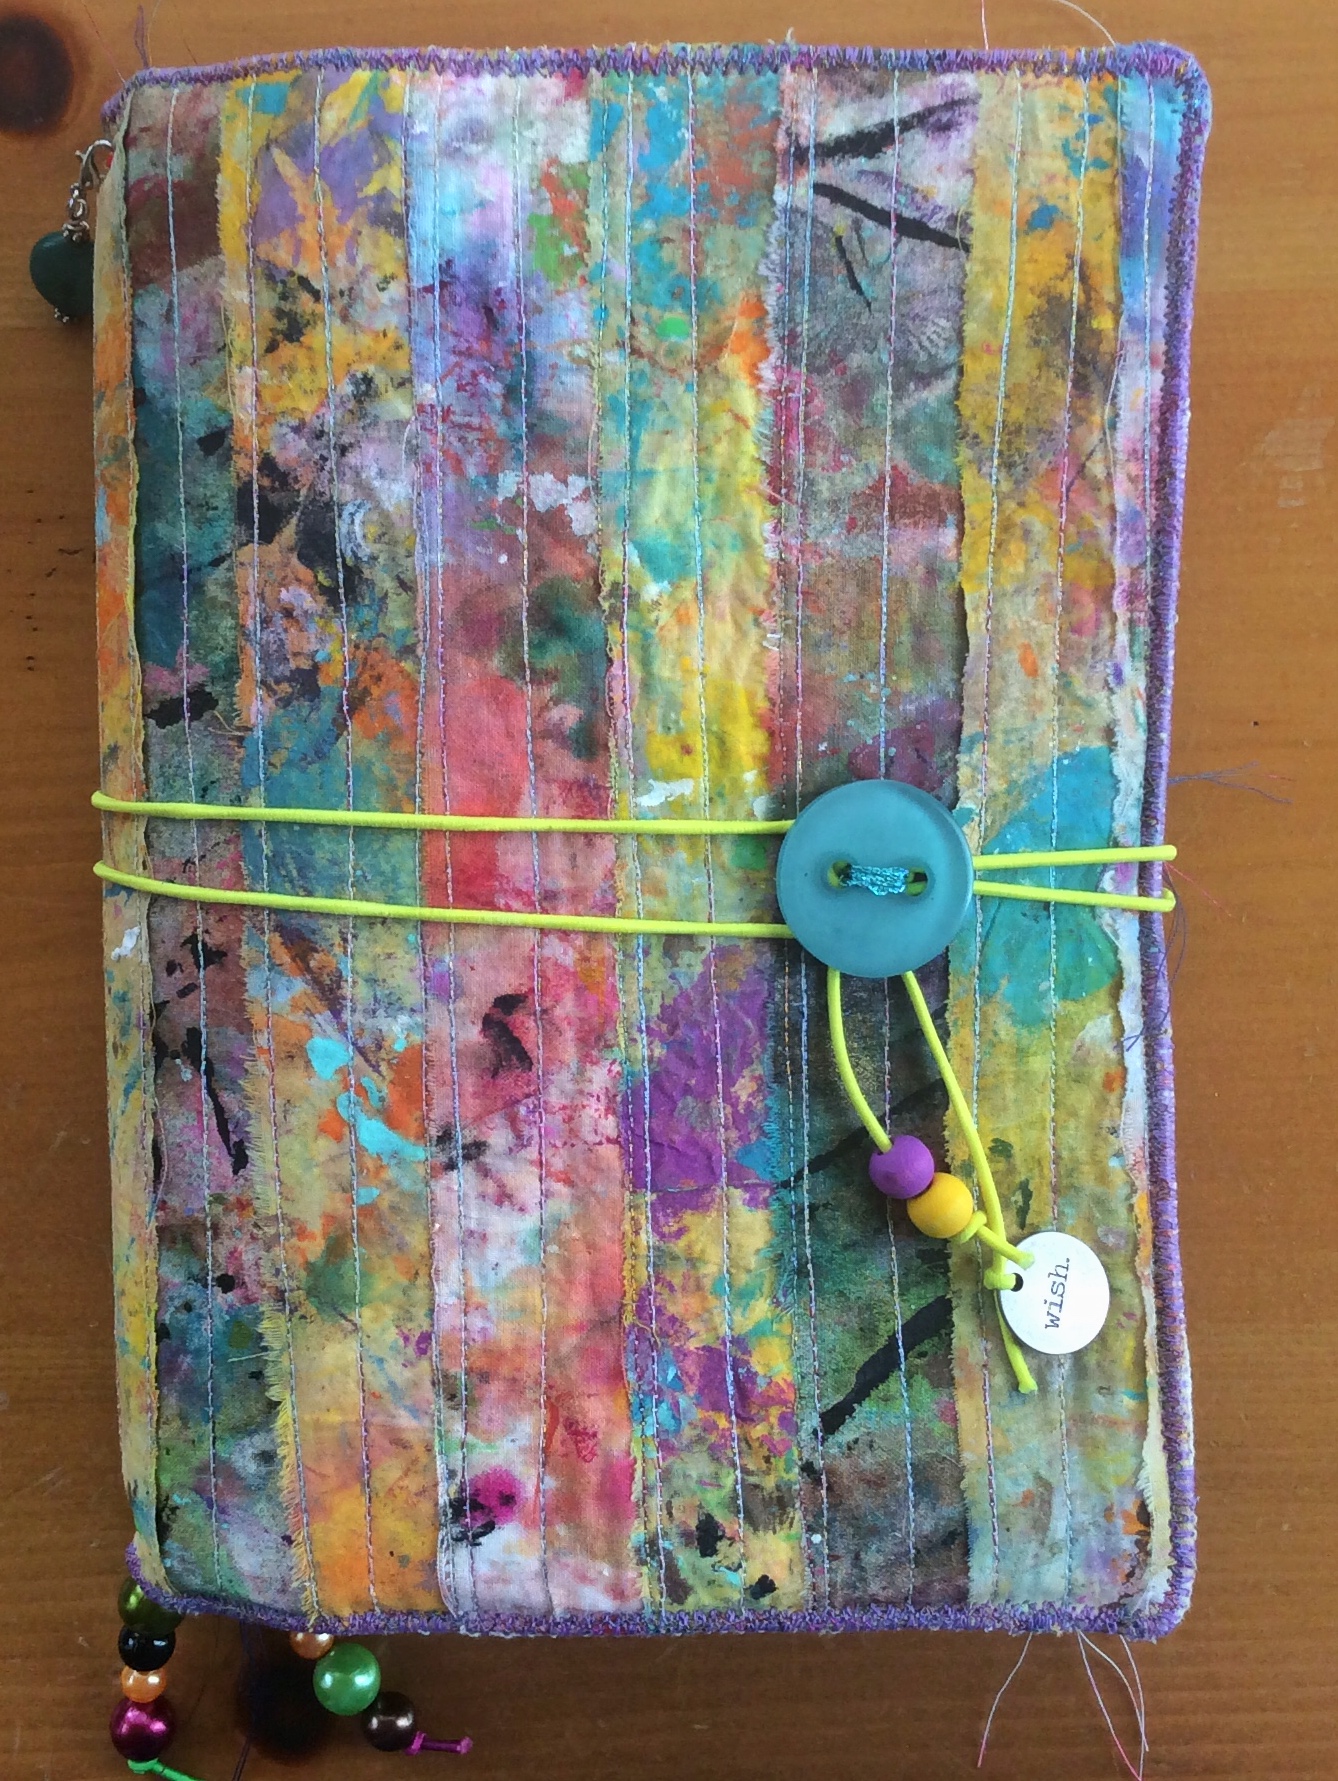
I took an online workshop from Roben Marie called “Ripped and Stitched.” In it, we learned to make a journal from strips of fabric previously used for wiping off brushes and cleaning up paint.
The fabric created from this is quite beautiful.
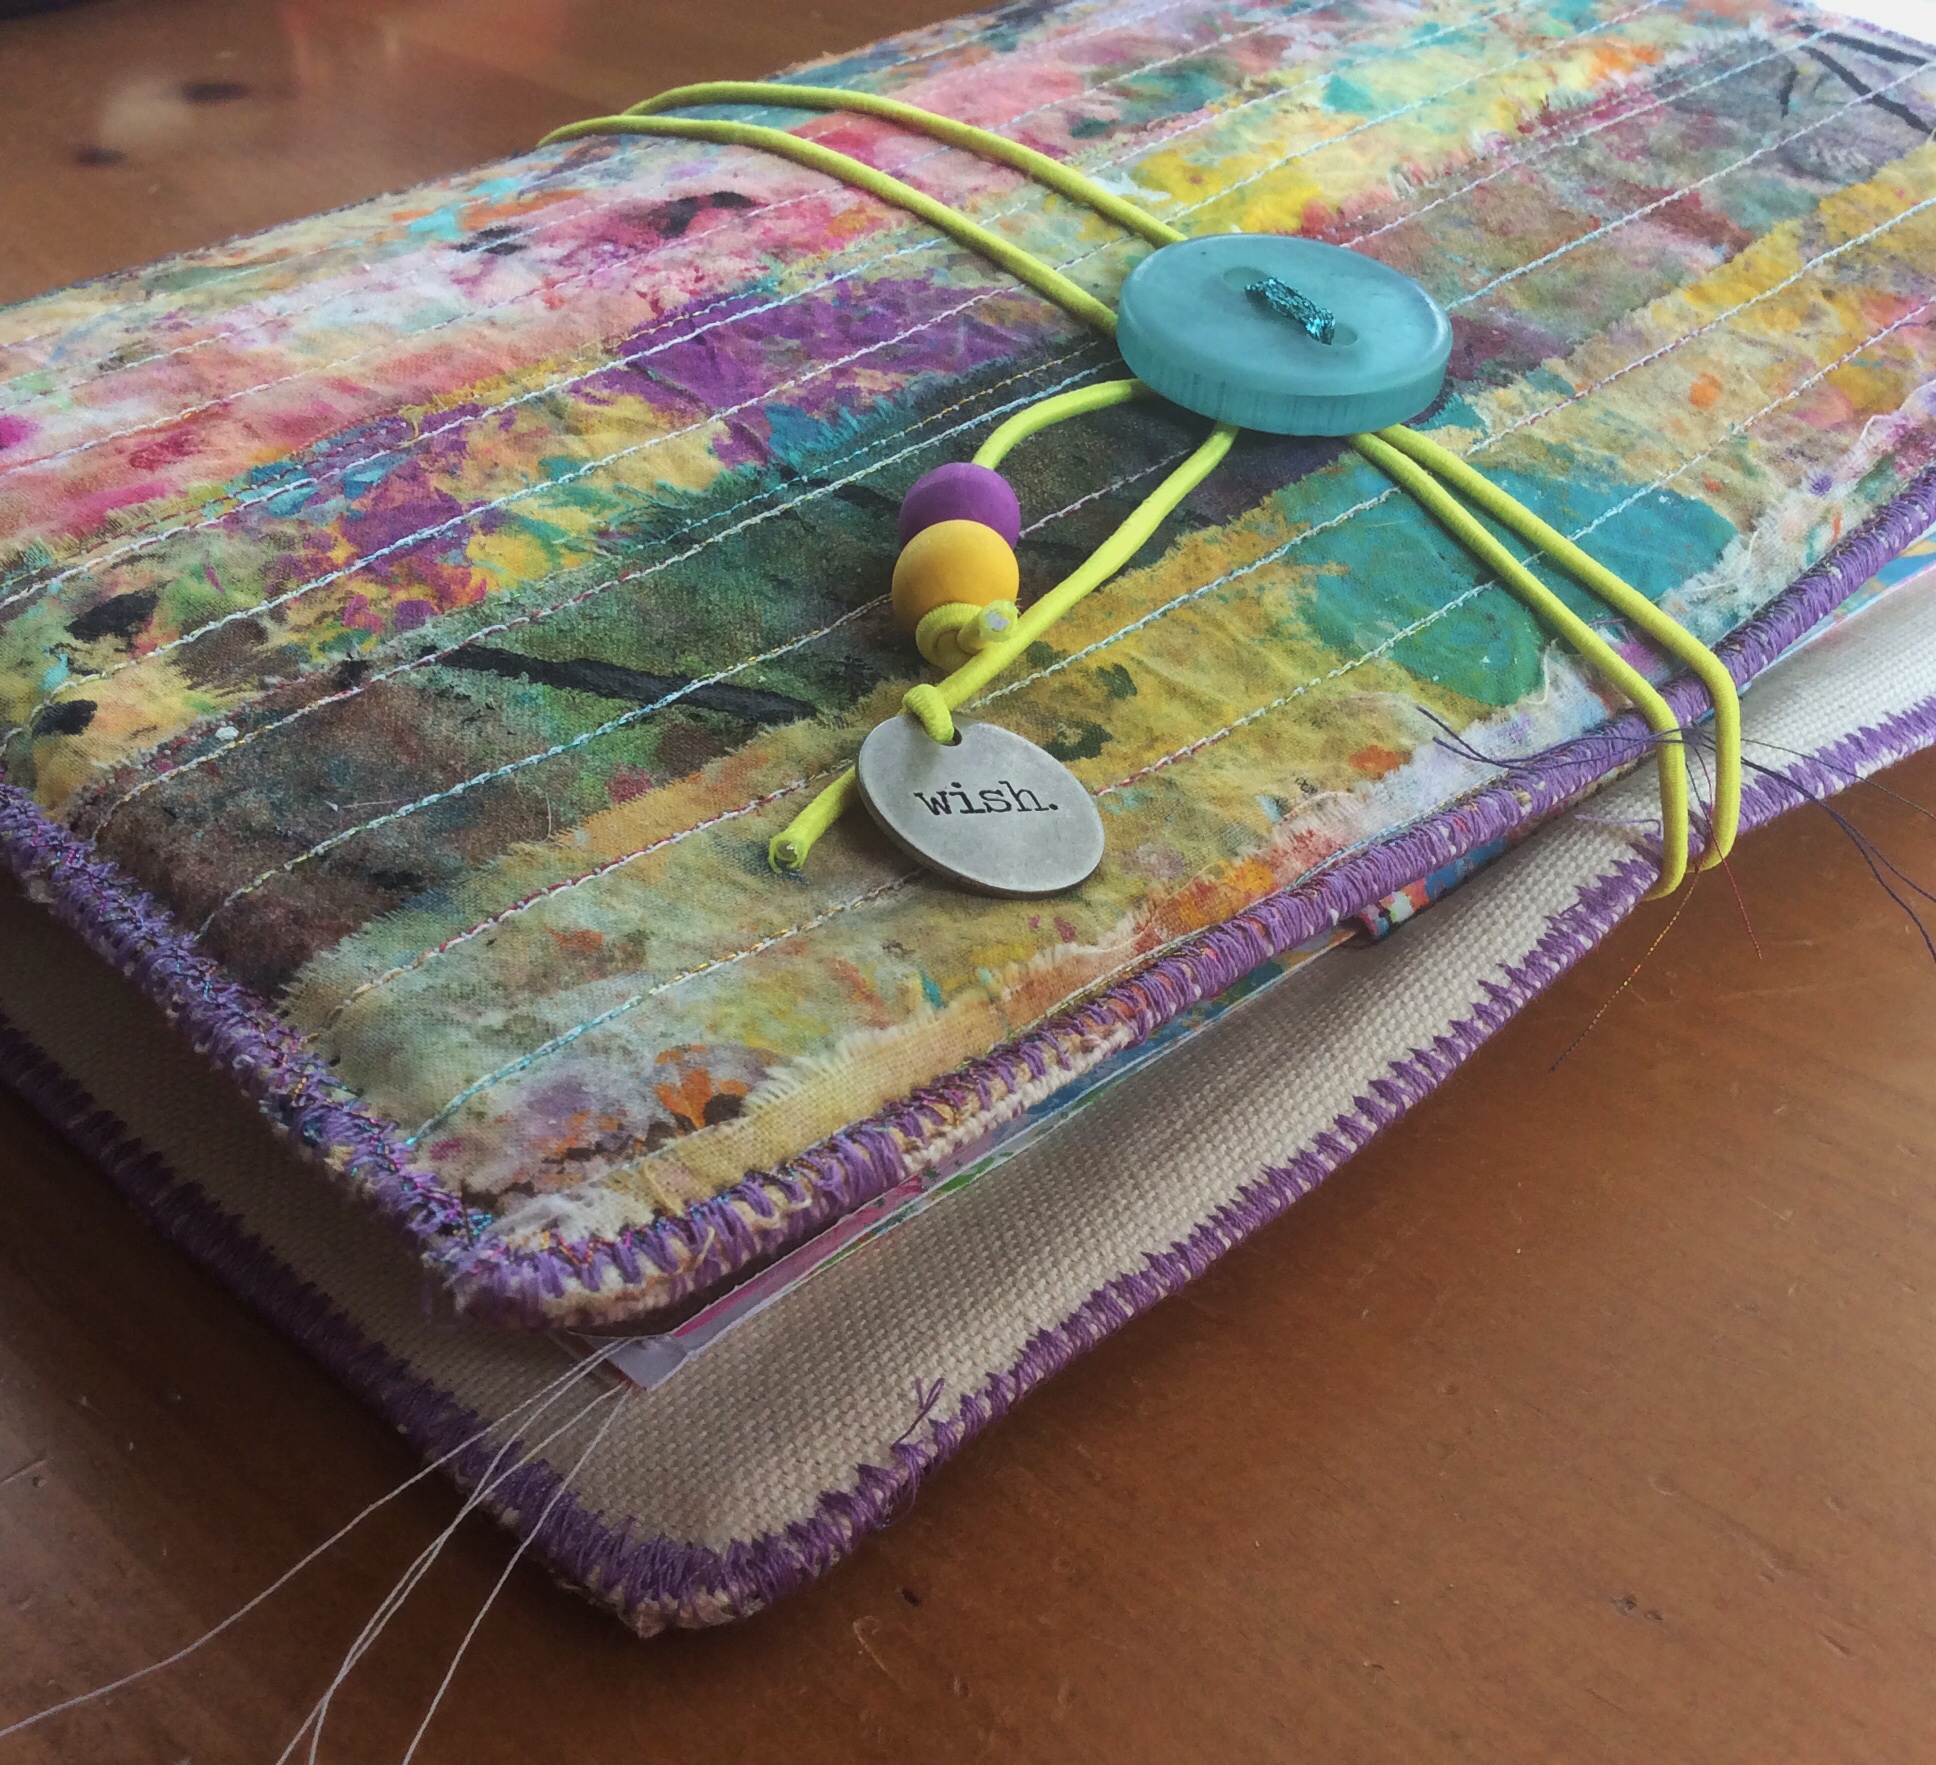
Travelers Journal made from painted fabric strips
Travelers Journal Side View
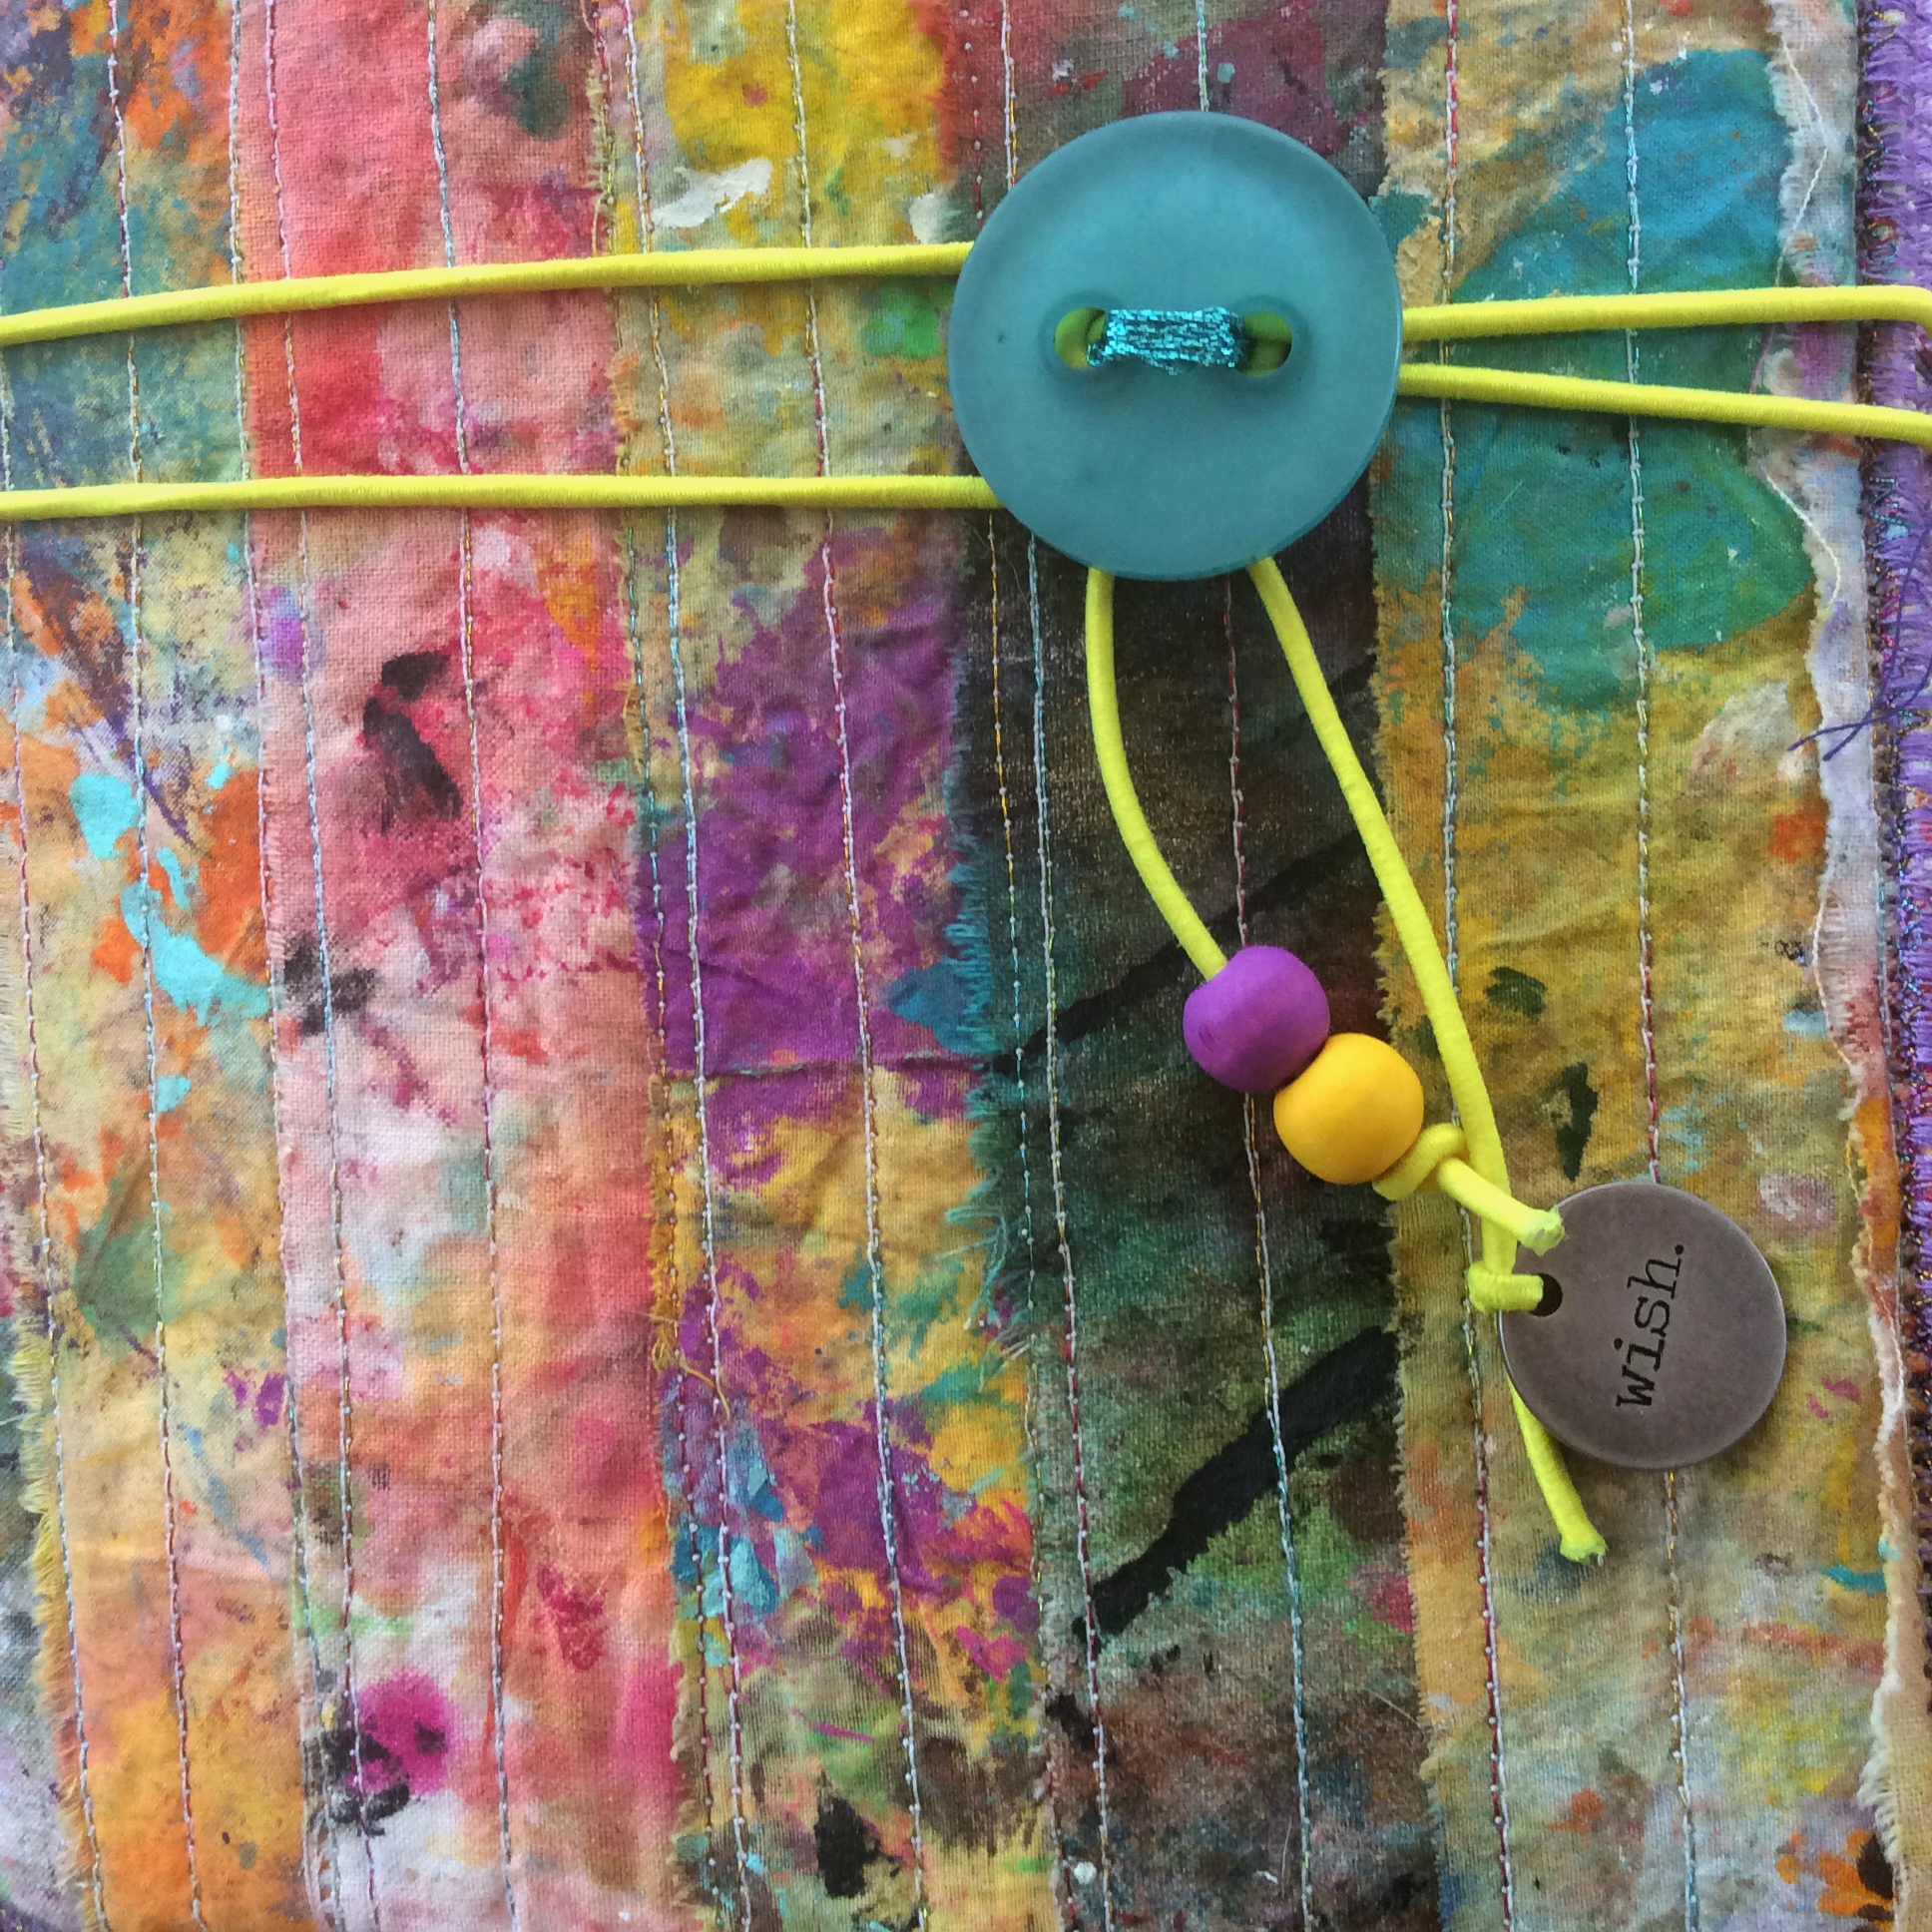
Beads, charm and button closure
I made a different type of journal than was taught in the workshop, but the technique is quite versatile, so you could make a variety of journal types with it.
The inside is full of handmade notebooks and a hand painted envelopes for stashing treasures.
I ended up liking this one so much that I made another one for myself!
After making my first junk journal, I knew I was hooked, so I decided to alter a book and create another one. I found this amazing mermaid book at Half Price Books, so I decided that would be my theme. I bought another mermaid book and found some vintage mermaid images and from that, I created my first Mermaid Junk Journal.
My 11 year old daughter asked me to make a junk journal for her as a Christmas gift. I asked what theme she wanted it to have and she replied “monsters, vampires, ghosts, witches and wizards.
I immediately thought how appropriate this was, since we love Halloween and all things scary. It also reminded me of lines from one of my favorite Blink 182 songs titled I Miss You:
“Hello there
The angel from my nightmare
The shadow in the background of the morgue
The unsuspecting victim
Of darkness in the valley
We can live like Jack and Sally if we want
Where you can always find me
And we’ll have Halloween on Christmas
And in the night we’ll wish this never ends
We’ll wish this never ends”
Front cover made from an altered book
Side view
Inside front cover
Embellishments from vampire book
Ephemera and one of my daughters drawings on tea dyed paper
One of my favorite things about the Internet is that it allows me to connect with like-minded artist from all over the globe. One of my favorite book artists is Liz Constable and I’m very fortunate to have received her new book “DIY Notebooks made easy”.
In it she describes how she creates the amazing paper she uses in her notebooks, so I just had to give it a try.
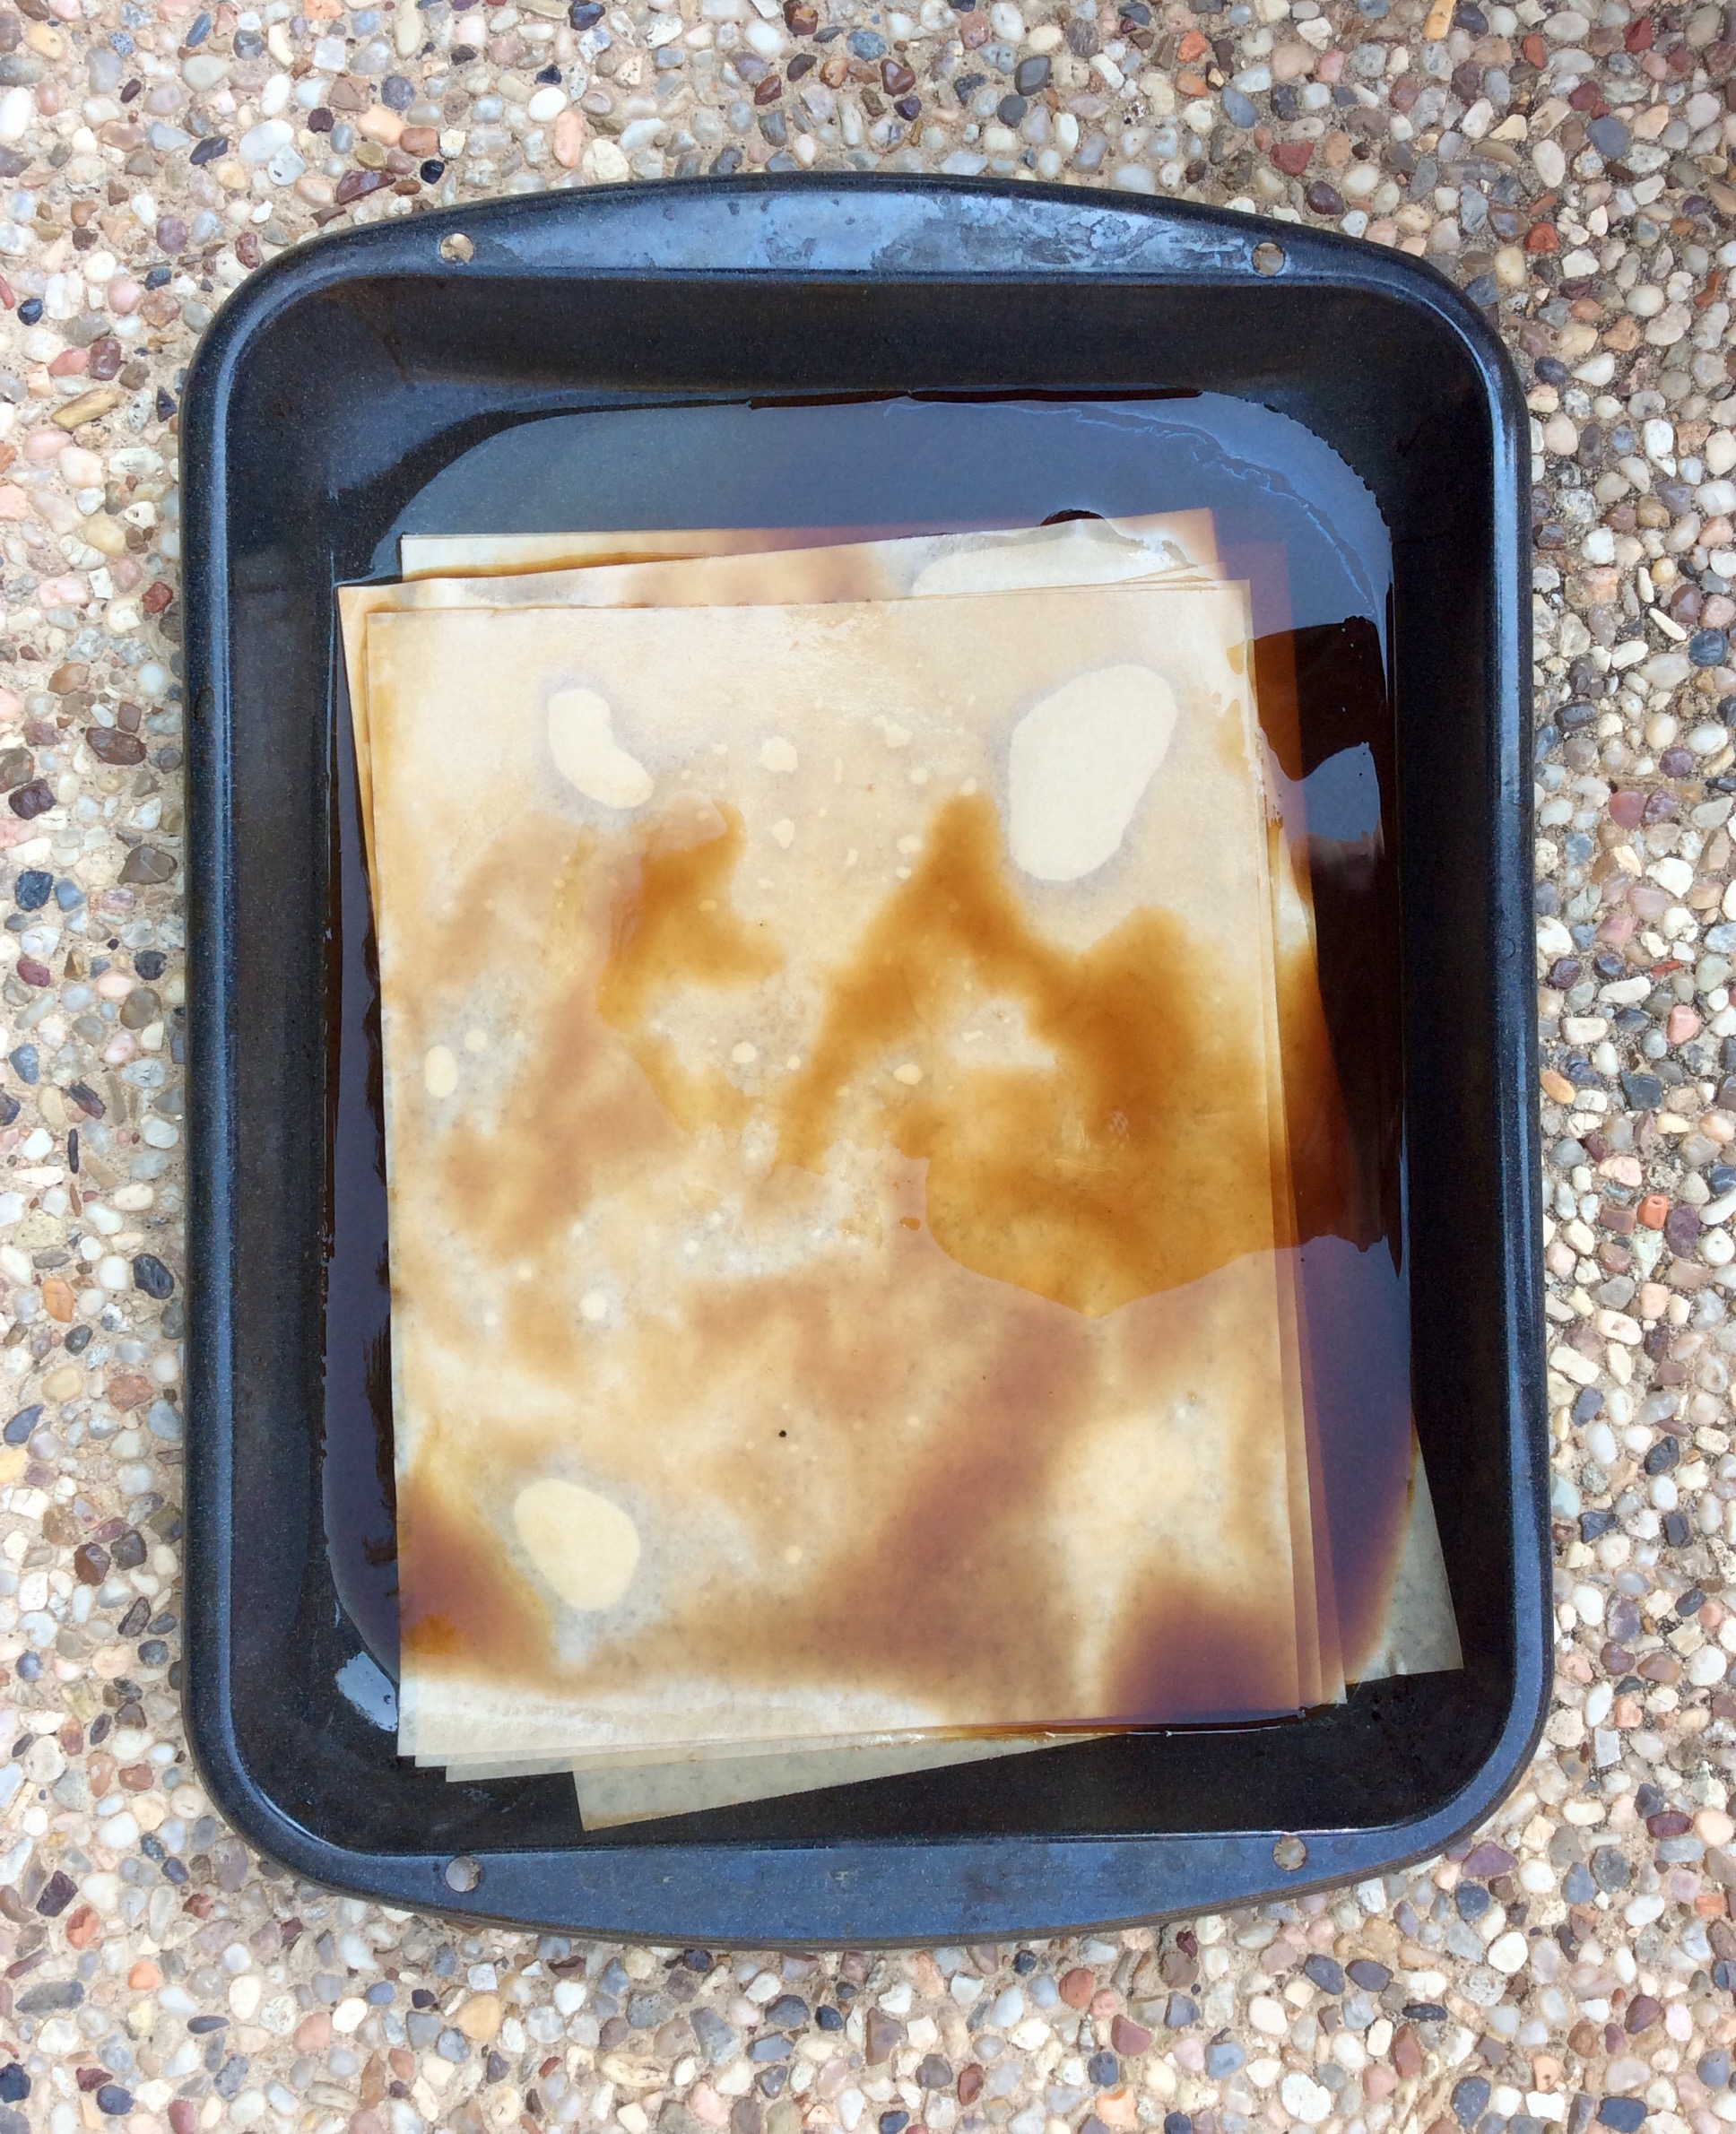
Dyeing Paper in Coffee
The longer the paper sits in the coffee, the darker it gets.
Paper drying with cookie cutter shapes on top
If you place things on the paper while it’s drying, the area under them will be lighter. It looks like I finally found a use for all those cookie cutters I bought years ago and never used.
Stack of dry papers
Here is a stack of the finished product. They smell as amazing as they look!
DIY Notebooks made easy
To learn more about this technique, as well as how to make some amazing notebooks, head over to www.bookartstudios.co.nz and order a copy of DIY Notebooks made easy.